Overview
The CRM module provides an overview of your customer contacts, allowing you to filter, search, and manage them efficiently. You can view contact details, export customer data, add new customers individually or via bulk import, and perform actions like bulk messaging within a centralized interface designed to streamline customer management.
Navigation
To access this module, in the side navigation menu > click CRM.
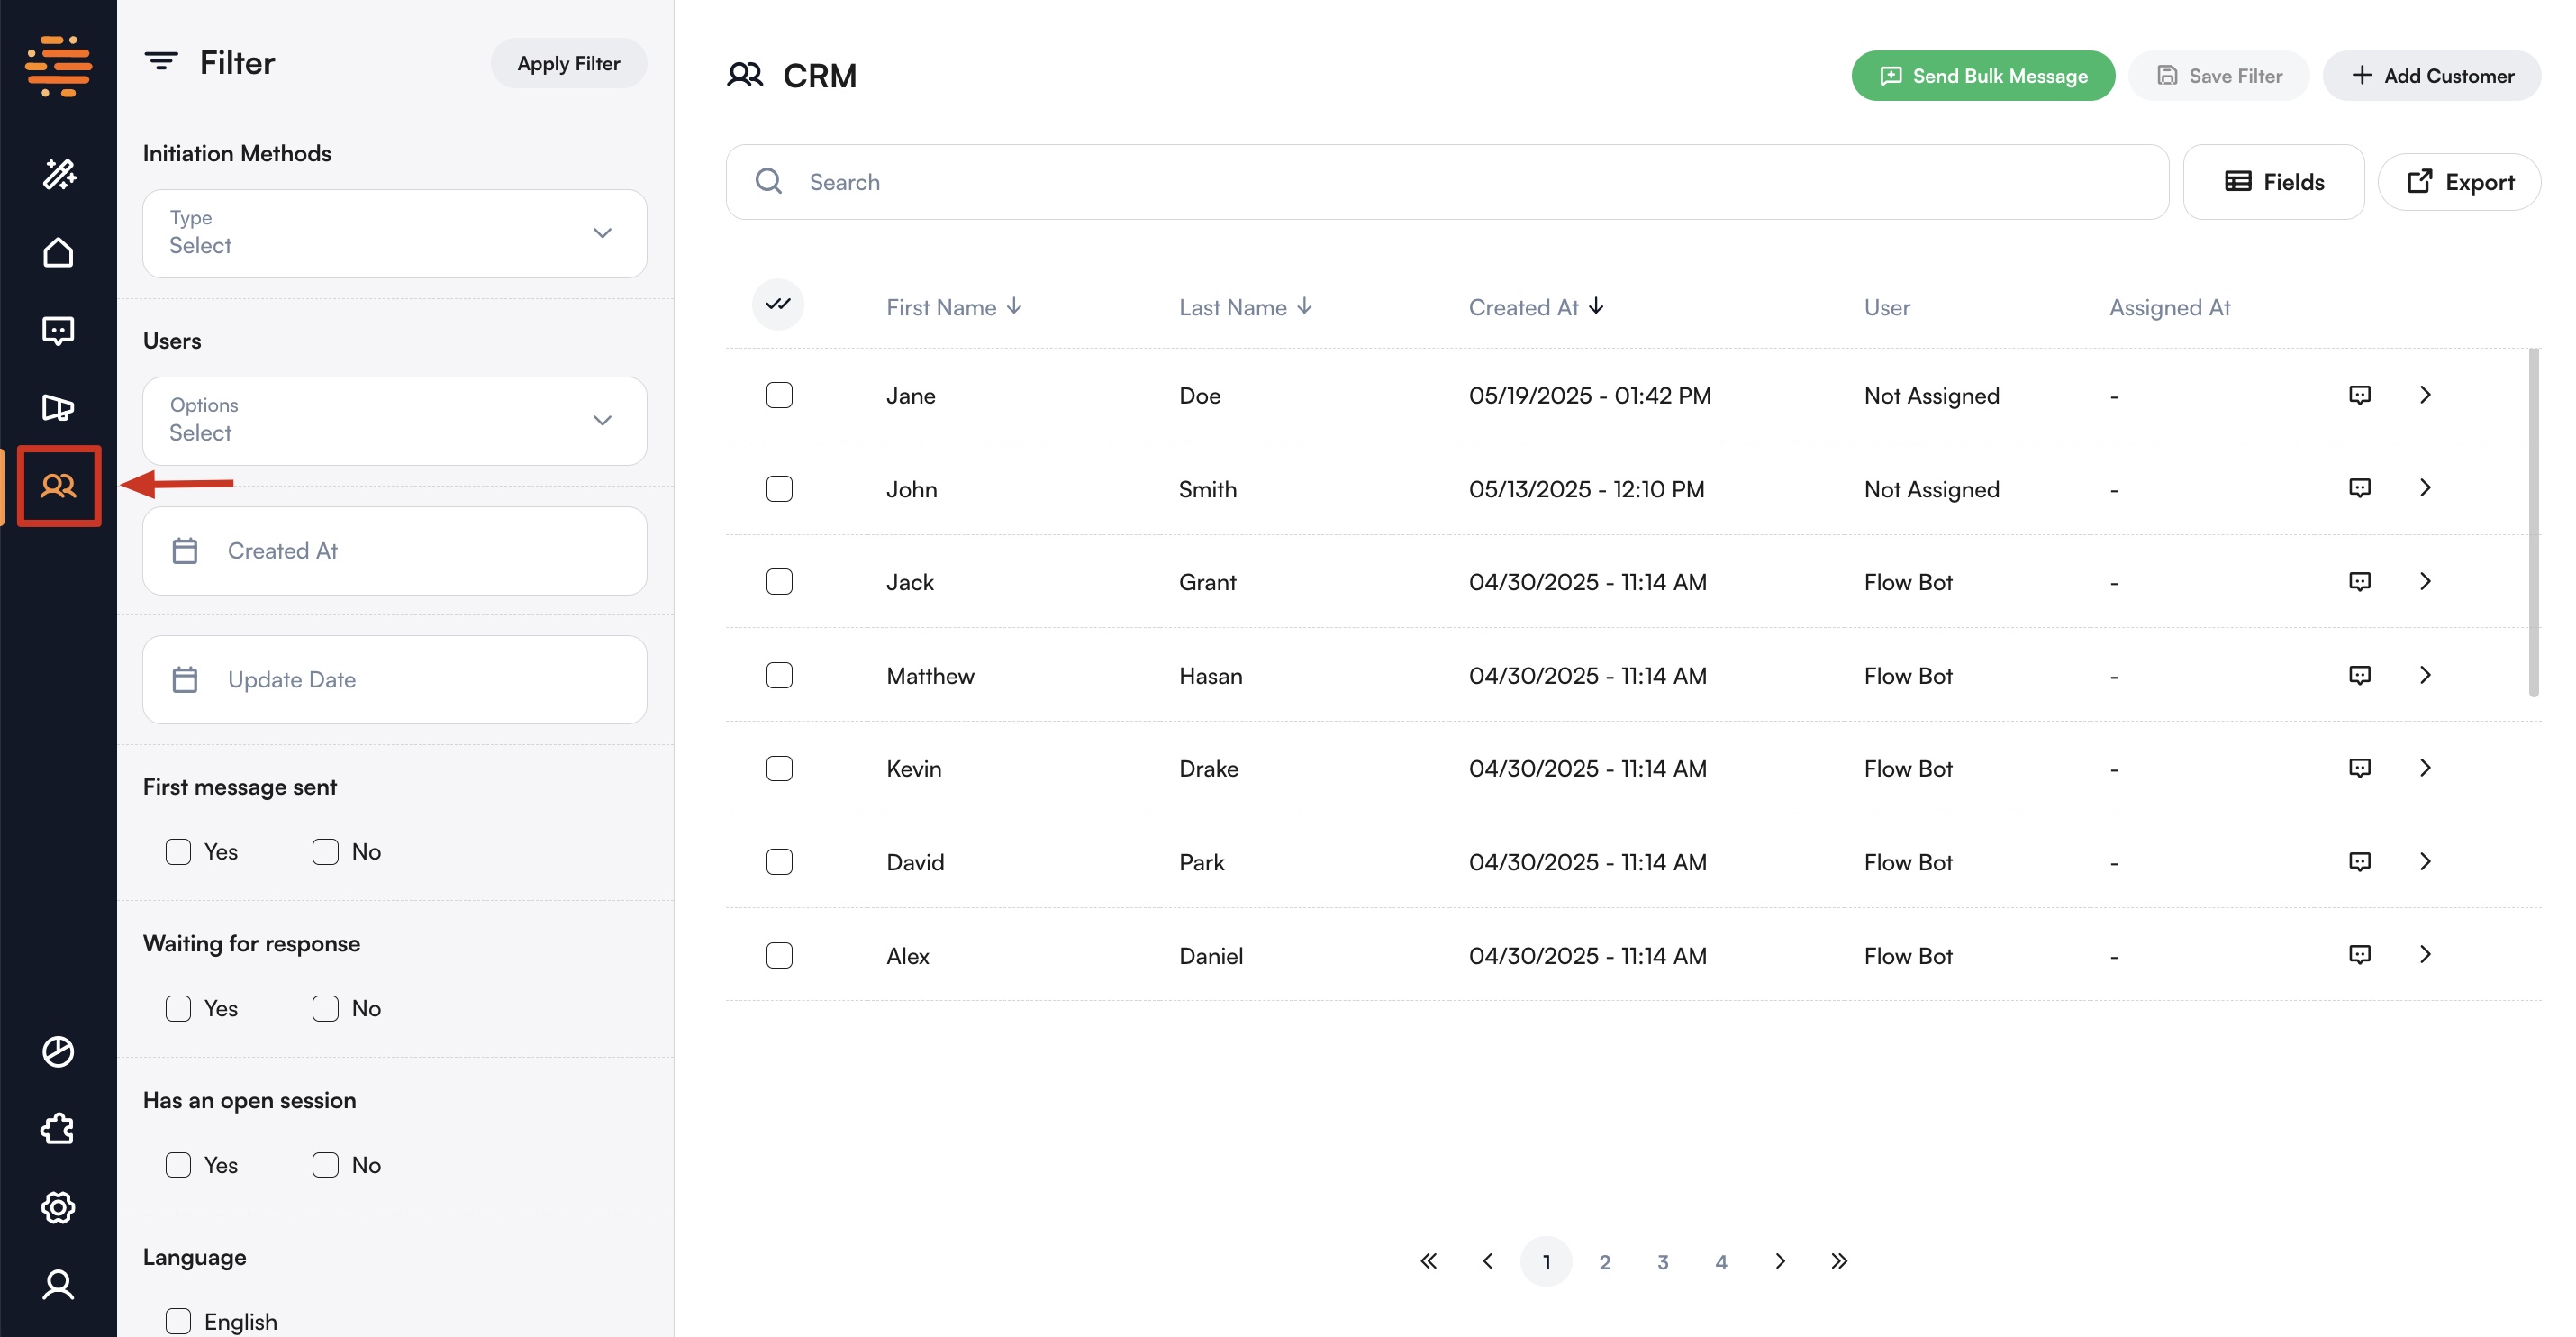
Filtering Contacts
On the left side of the screen, you’ll find filters to help you navigate your contacts list. These filters include system-default fields and any custom Profile Fields you’ve created for your business.
Initiation Method
You can filter contacts based on how their first interaction was initiated. The following options are available:
- Bulk Message – Initiated via a bulk message sent by your business.
- Template Message – Initiated via a pre-approved message template.
- Referral Ad – Initiated via a tracked referral or ad campaign.
- Fallback – Initiated when no matching automation is found, such as an unsupported link shared by the user.
- Organic – Initiated when the user messages your business directly.
- Sync – Initiated when the user sends a direct message to one of your connected channels.
Users
All system users are listed here. You can filter contacts based on assigned users—individually or by multiple selections.
Created At & Update Date
- Created At: Filters contacts by the date they were first registered in the system.
- Update Date: Filters by the date of their last interaction or update.
Tags
Tags are applied either automatically by the system or manually during conversations. You can filter contacts by selecting one or more tags and setting conditions accordingly.
Profile Fields
Profile fields are customizable data points you define to capture key information about your contacts—such as name, location, customer type, or any other detail relevant to your business. These fields can be filled in a number of ways: automatically by the chatbot during conversation flows, manually by users themselves, or edited by your team afterward. All active profile fields are displayed in the filtering panel, allowing you to filter contacts based on any combination of these values.
For more details, check the Profile Fields Guide.
To reuse any filter combination, click the Save Filter button at the top right, give your filter a name, and save it.
You can then easily reapply saved filters at any time by selecting them and clicking the Apply Filter button.
Contacts Table
In the central part of the screen, you’ll see the filtered contacts list.
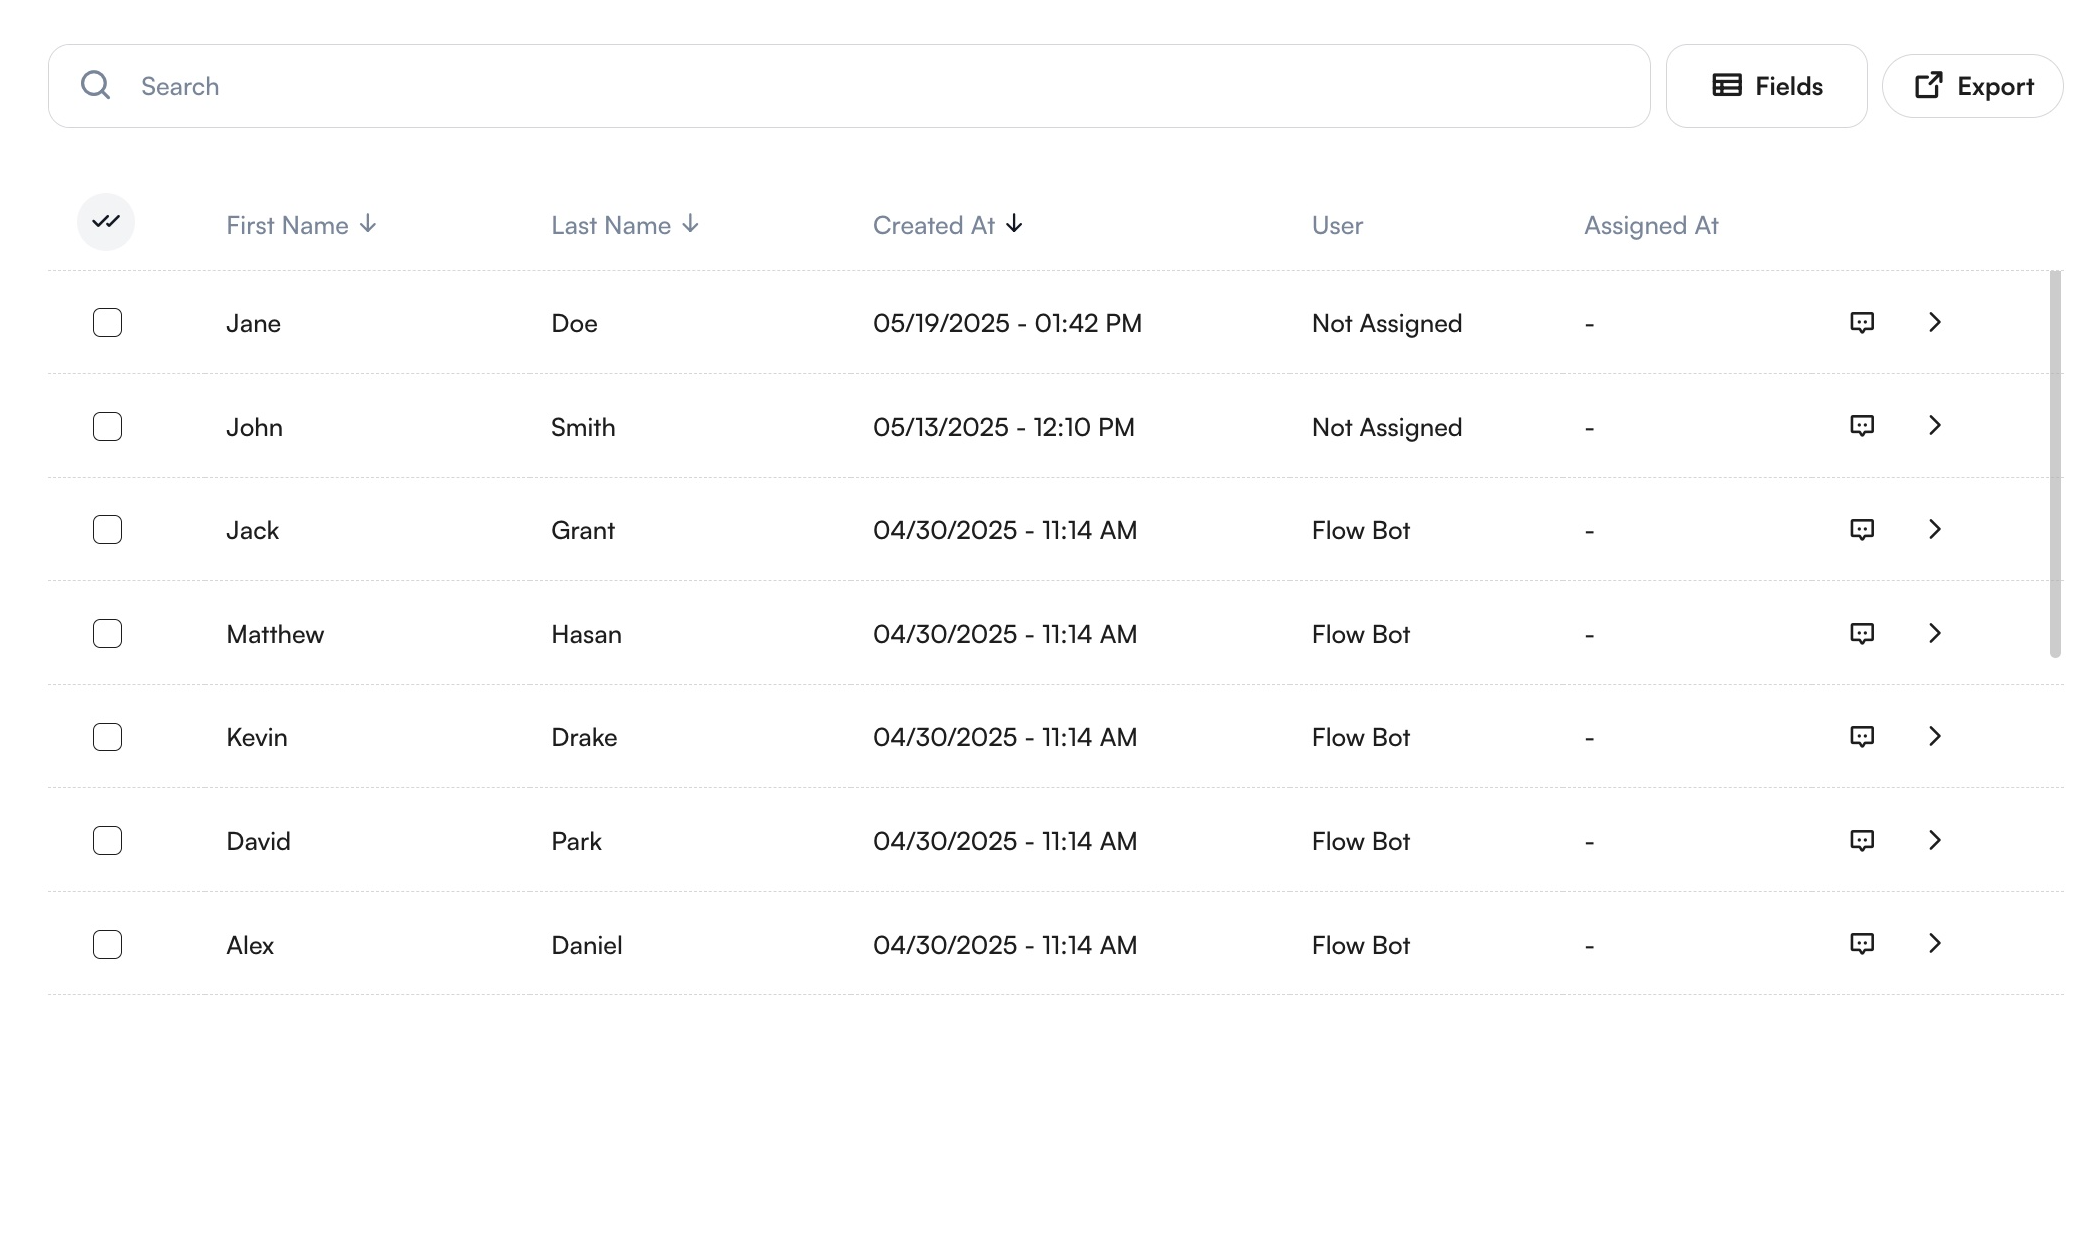
Features
- Search by first name, last name, or phone number
- Sort by name, creation date, or other visible fields
- Default visible columns: First Name, Last Name, Created At, Assigned User, Assignment Date
- Select multiple contacts for mass editing or broadcasting
- View individual session via the
Chatbutton or open detailed profile with theShowbutton
To learn more about broadcasting, see the Broadcasts Guide.
Adding Fields to Table
You can customize the table columns by clicking Fields (top right) and selecting from the available options.
Export
Click Export (top right) to download your table in Excel or CSV format.
After exporting, you can find your files in the Exported Files section, where you can download them directly or email them to either yourself or a separate user.
You can also view detailed information about each file, including File Name, Size, Expiration Date, Creation Date, Created By, and more.
Add New Contact
There are two ways to add new contacts:
Individually
Click Add Customer (bottom left).
Fill in required fields (Name, Surname, Phone) and any optional profile fields.
Click Save Information.
Bulk Import
Click the Customer Import or Import option from the three dots menu. Follow these steps:
- Upload File: Use the sample file to format your data, then upload.
- Map Fields: Match file columns to CRM profile fields.
- Review: System identifies invalid data, duplicates, updates, and new entries.
- Confirm: Final screen summarizes updates and additions. Click
Save.
You can view customer import progress and completion status from the System Jobs page.
Customer Details
More details about the customer can be accessed by clicking the Show button, which opens a detailed drawer.
CRM Details
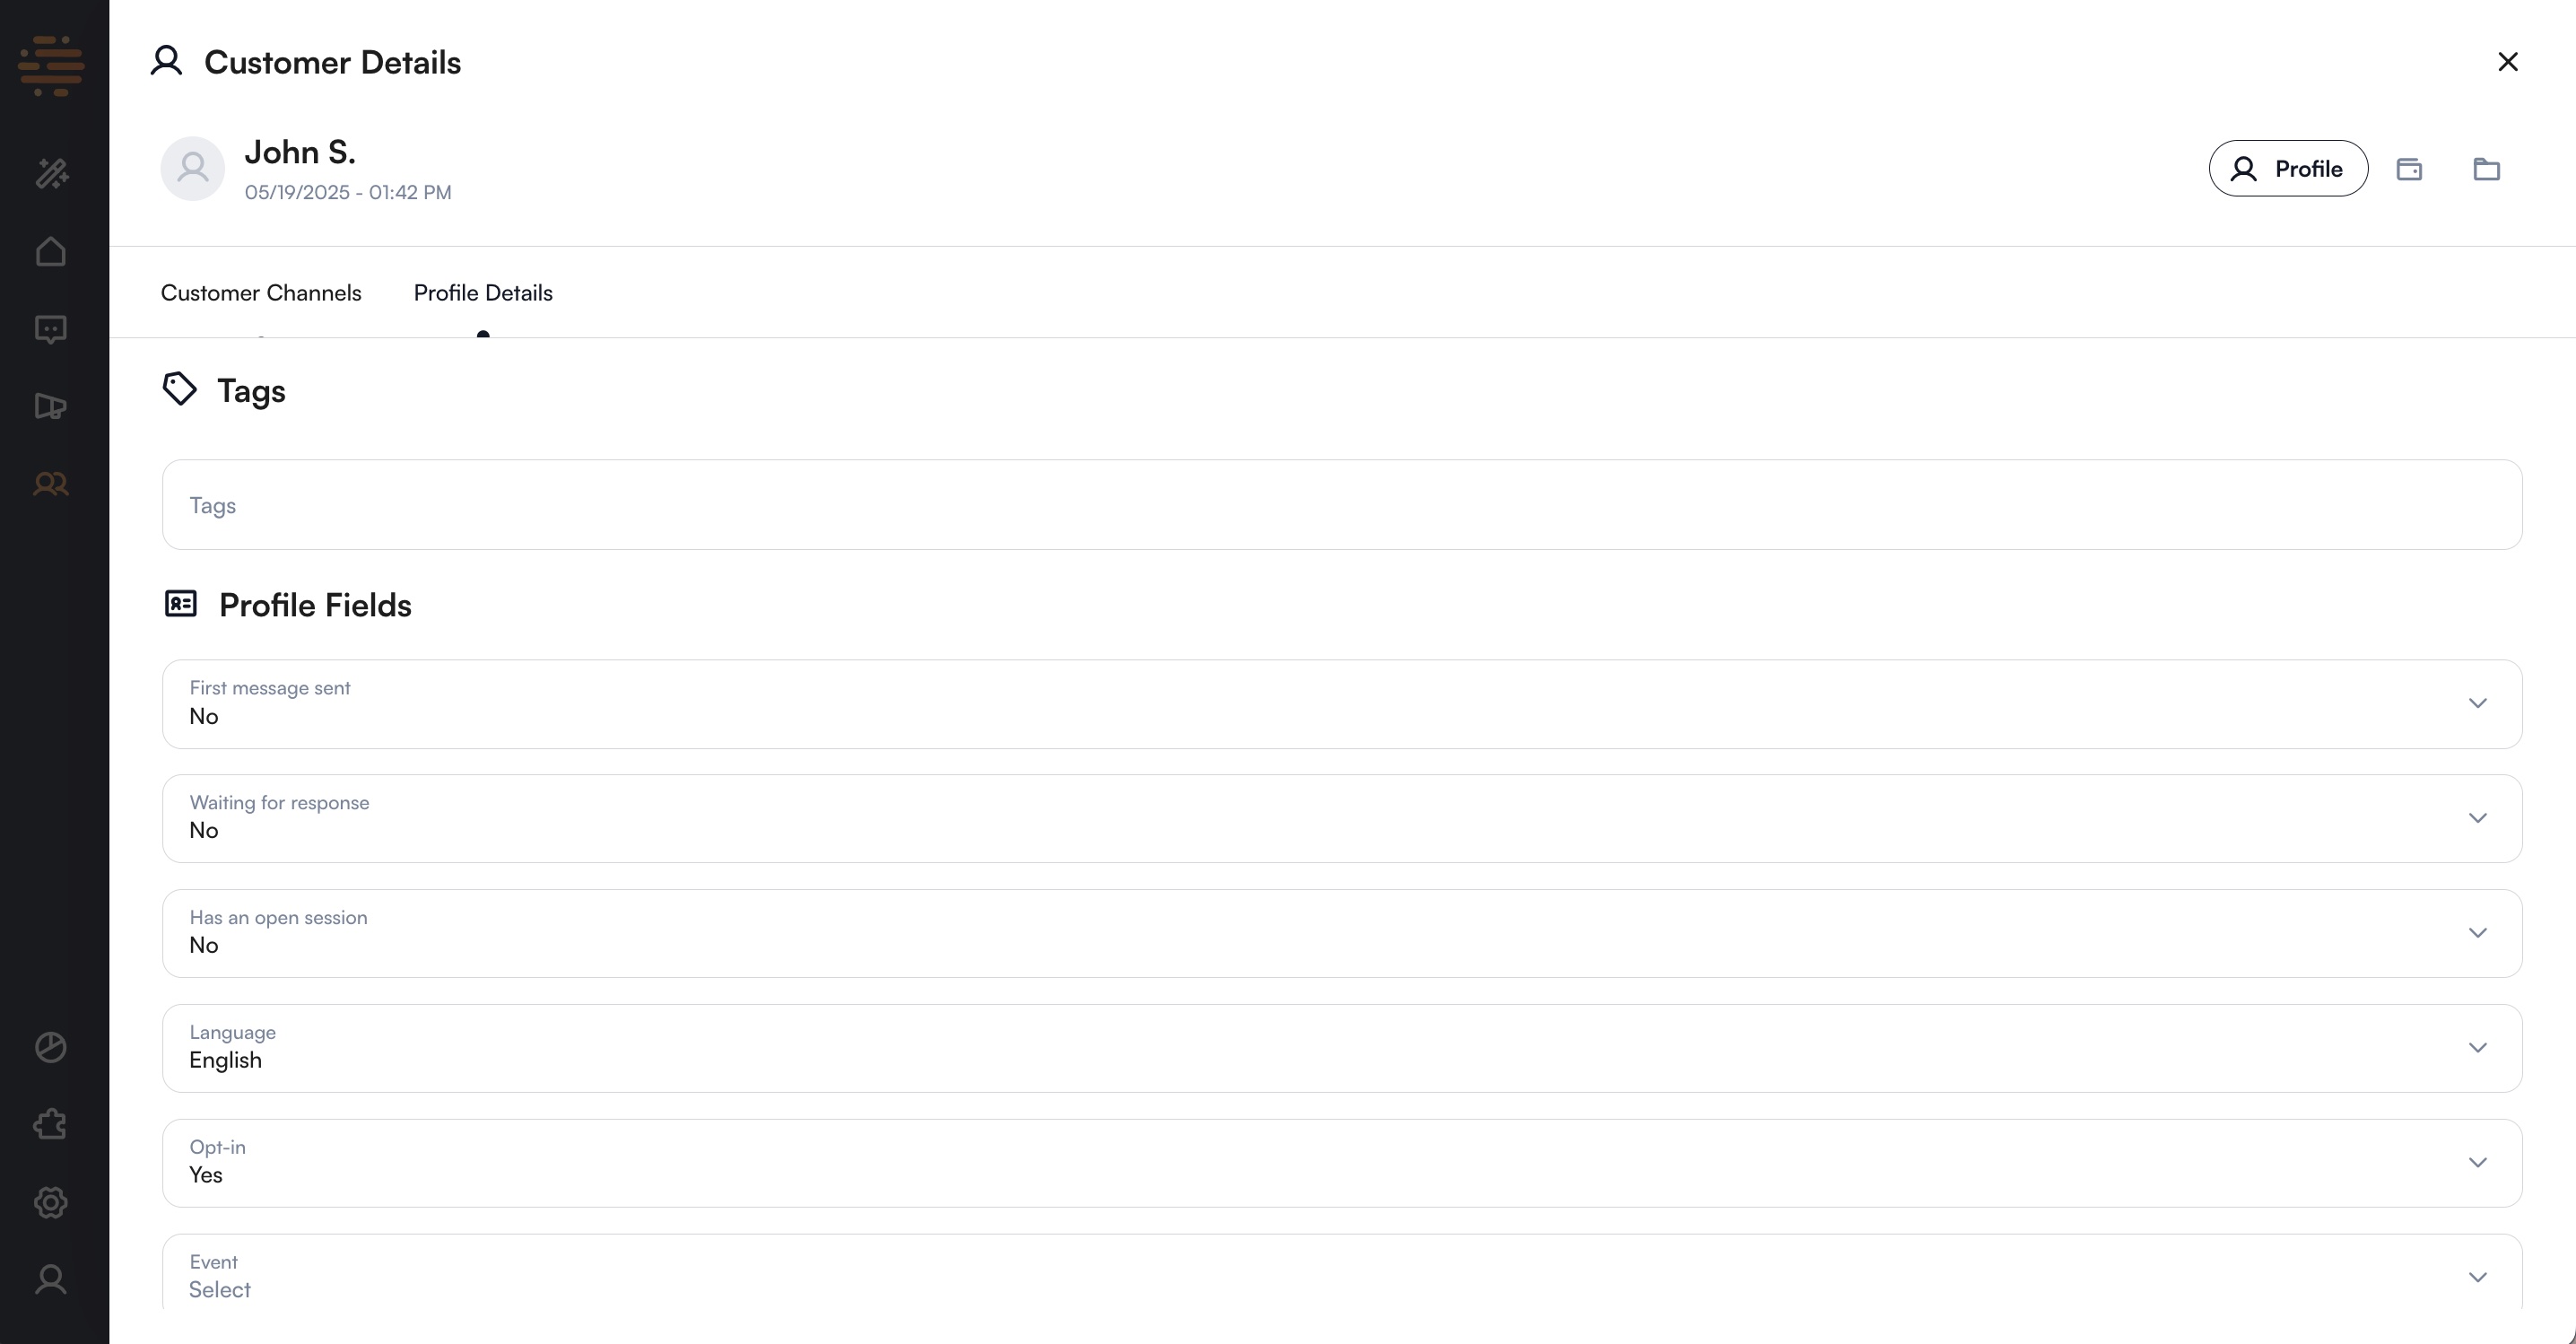
Customer Profile

Customer Wallet
Customer Media
1 of 4
Profile
- Preview: Shows all communication channels. Use purple buttons to start conversations.
- Details: View/edit tags and profile information. Click
Save Informationto confirm changes.
Wallet
Displays current balance and transaction history. You can also add new transactions here.
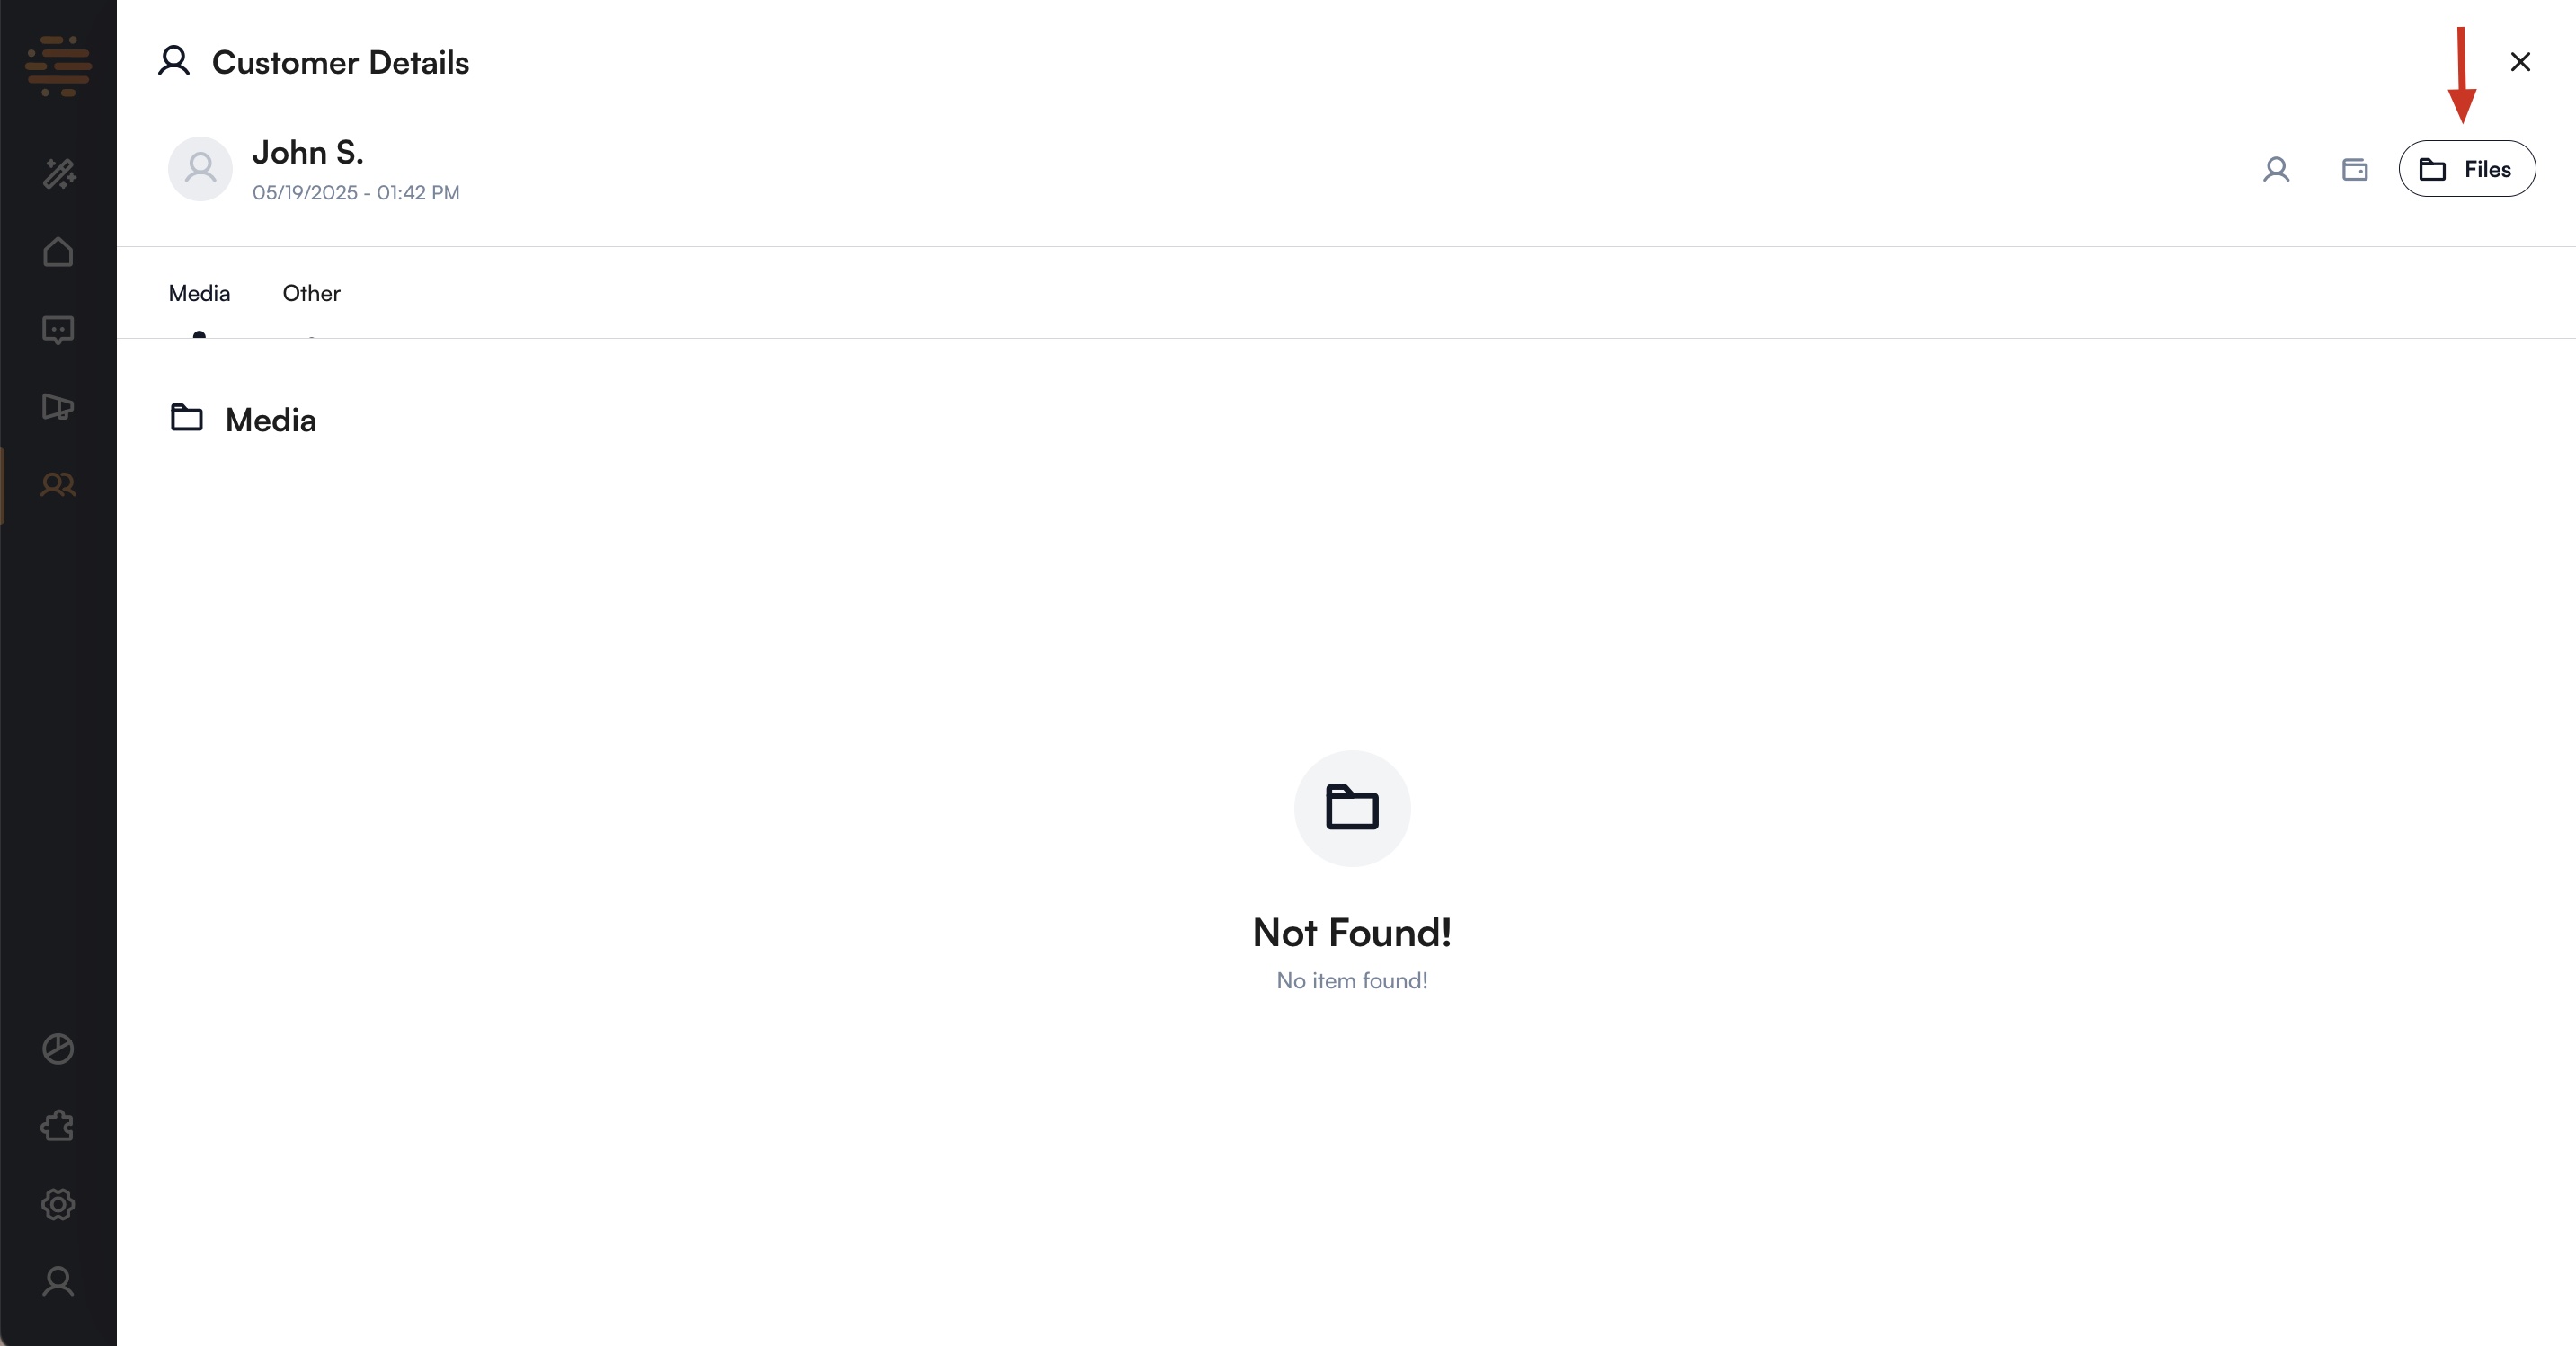
Files
Displays all images and files shared with this contact.
You can also mark the contact as spam via the ellipsis menu (top right).
Messages from spam-marked contacts won’t be delivered to your team.